Deleting unwanted rows can be time consuming, especially when the rows you are going to delete is not adjacent. Without the following tricks, you will have to delete the rows one by one.
In this article, I will show you how to delete every other row or every nth row in Excel. I assure you this tutorial will save you lots of effort.
You might also be interested in 5 Types of Graphs to Create with REPT function
Delete every other row or every nth row (Sample 1)
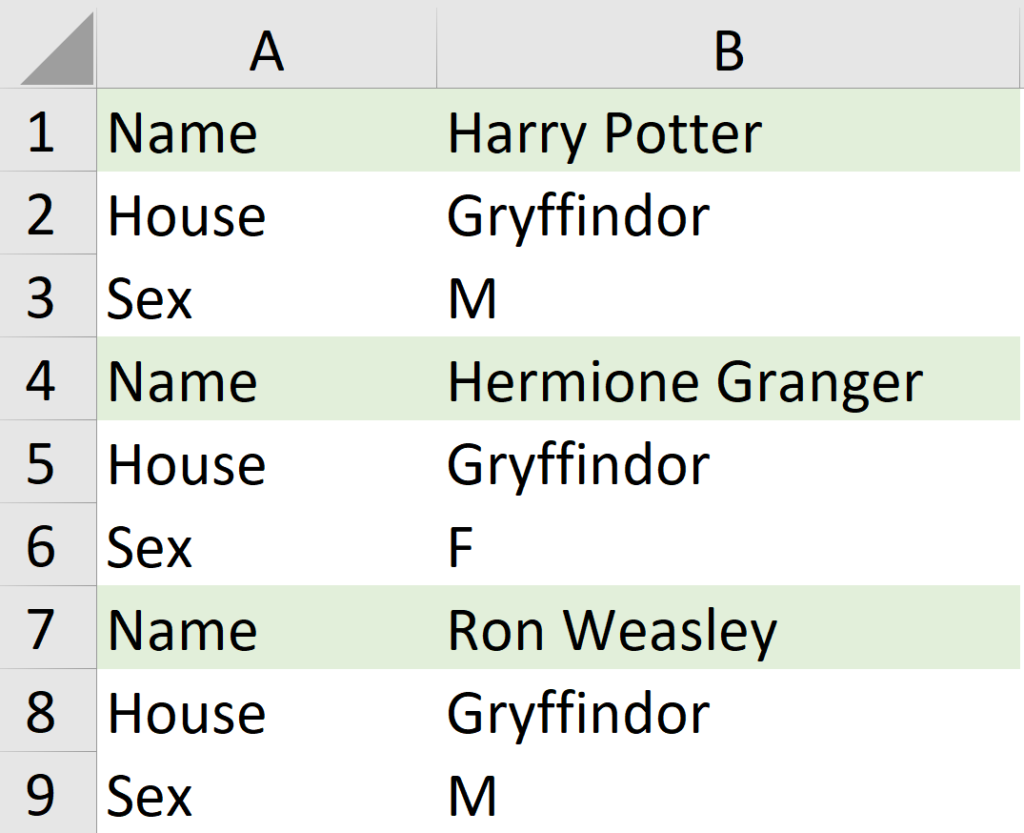
In this sample, we are going to delete 2 rows every 3 rows.
We would keep row 1 and delete row 2 to 3, keep row 4 and delete row 5 to 6, so on and so forth.
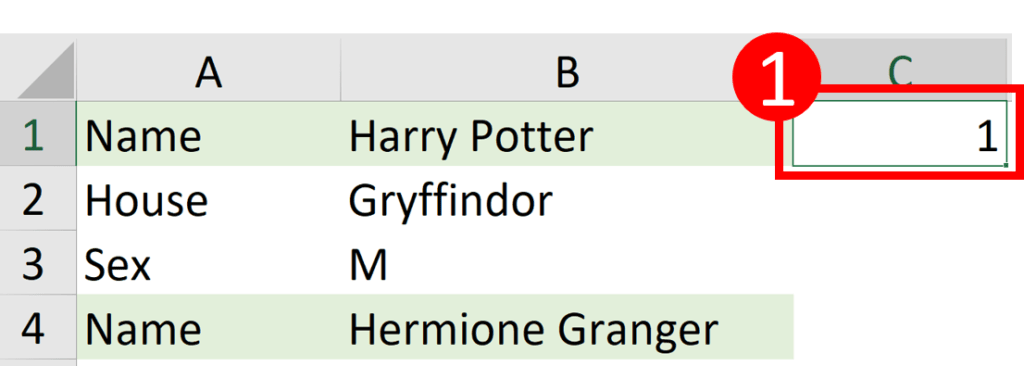
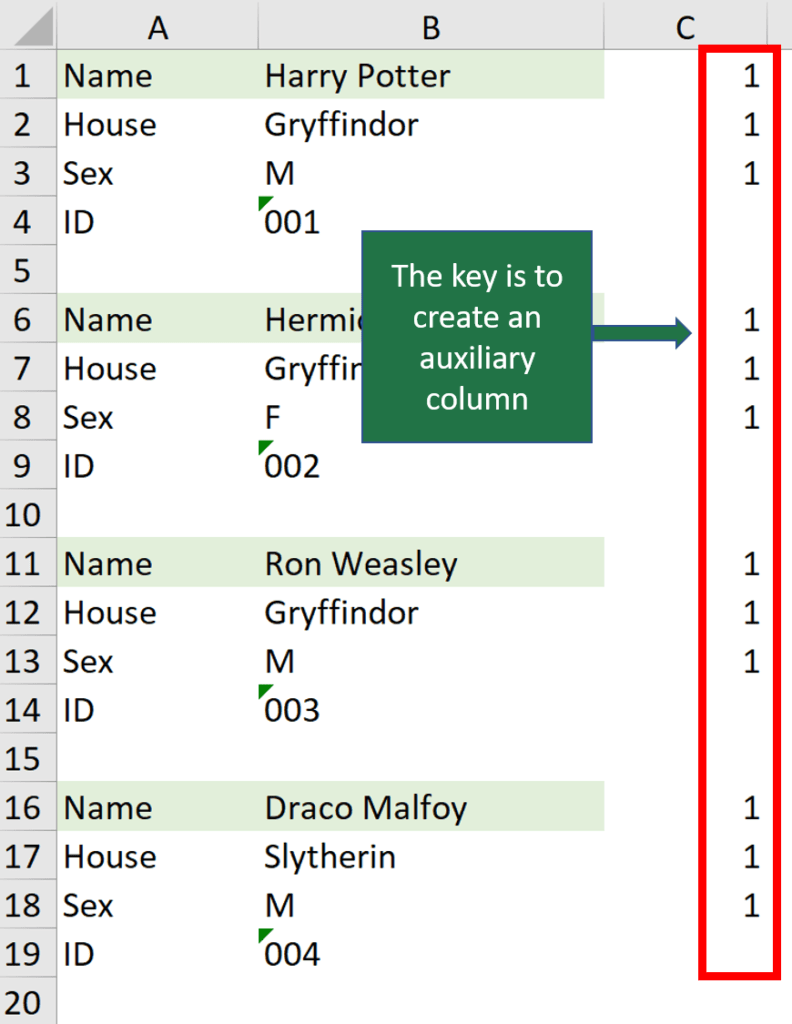
Step 1: Enter 1 into cell C1
Here we are trying to make an auxiliary column.
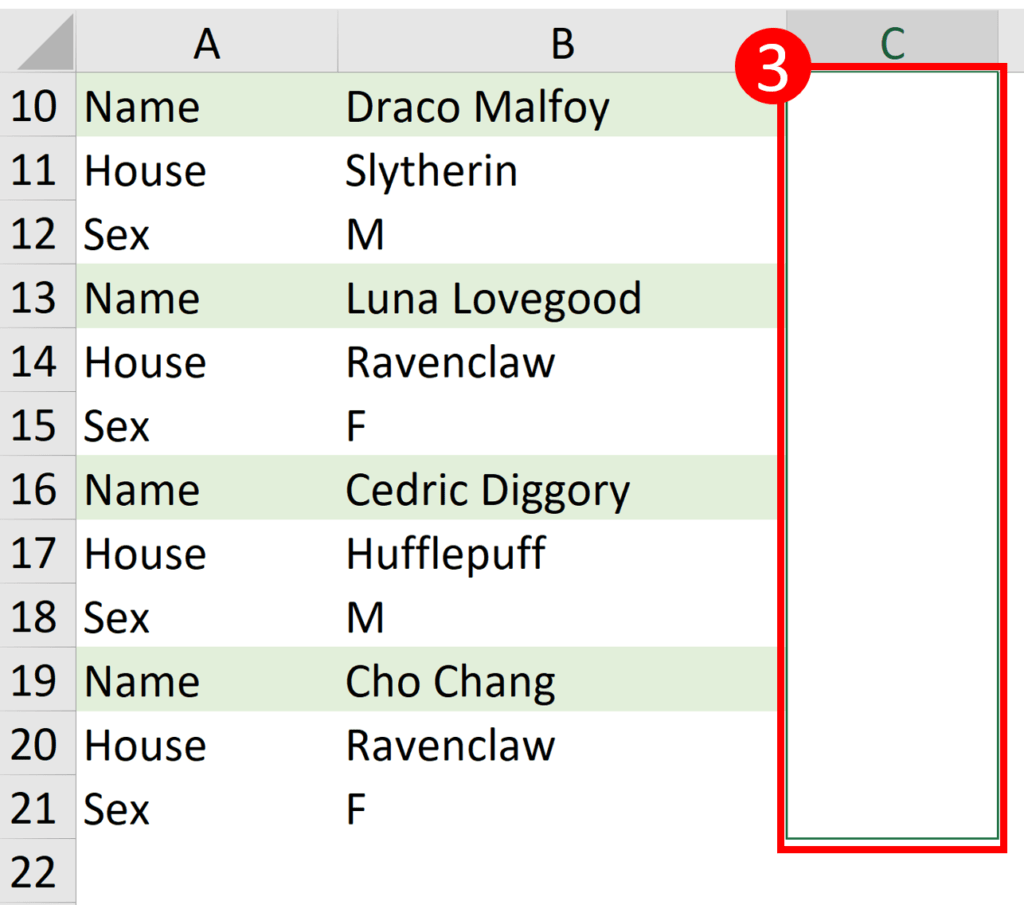
Step 2: Select cell C1 through C3
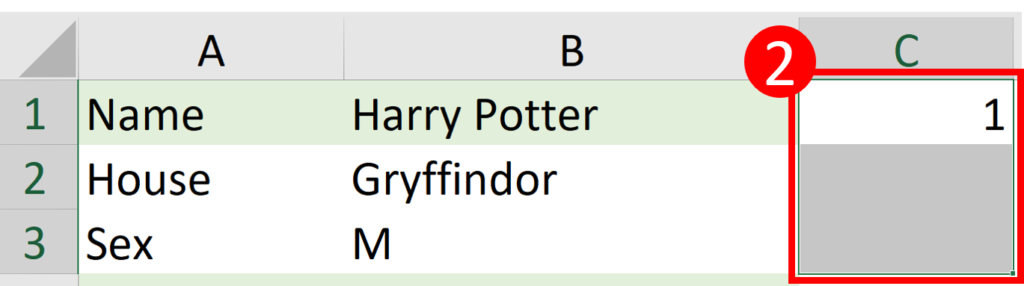
Step 3: Drag the fill handle until the end of the column
Fill handle is the small rectangular control at the right bottom of a cell. When you move your cursor above the fill handle, it will turn into a cross sign.
You might also be interested in Edit The Same Cell In Multiple Excel Sheets
Here I dragged the fill handle down and released the cursor when it reached cell C21.
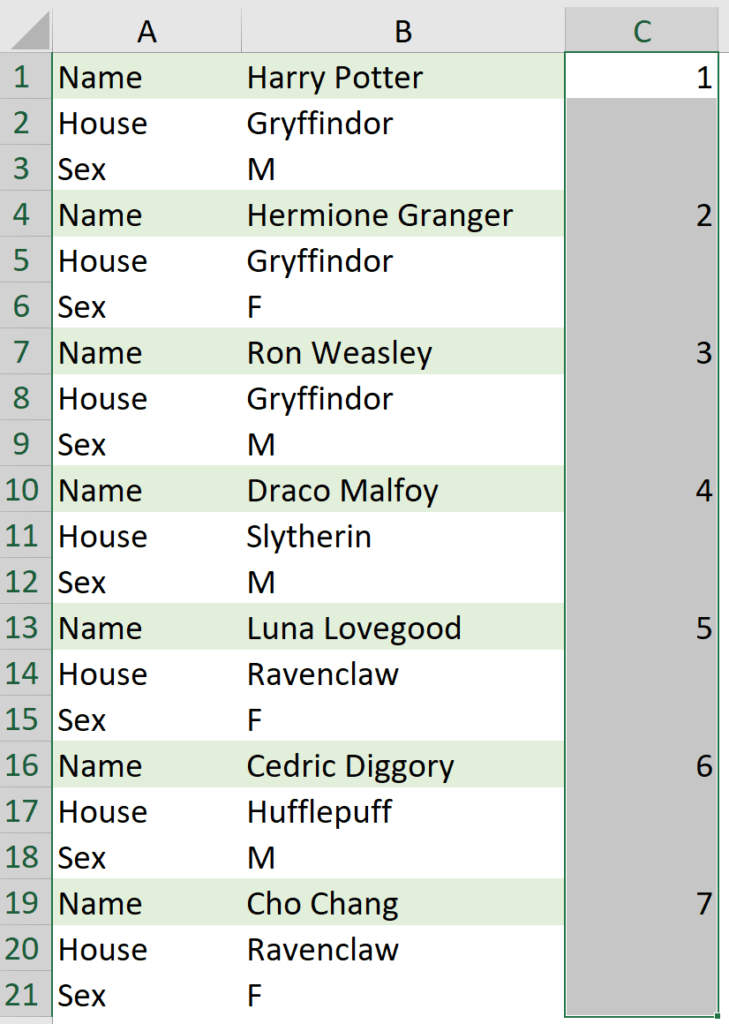
When you release the cursor, column C should look like this.
This is because the fill handle allow Excel to recognize the pattern of the highlighted cell ranges and continue it to the remaining cells.
Since the highlighted range contains a number and two blank cells, the below cell ranges (C4 through C21) will repeat the pattern.
You might also be interested in 6 Ways To Converting Text To Number Quickly In Excel
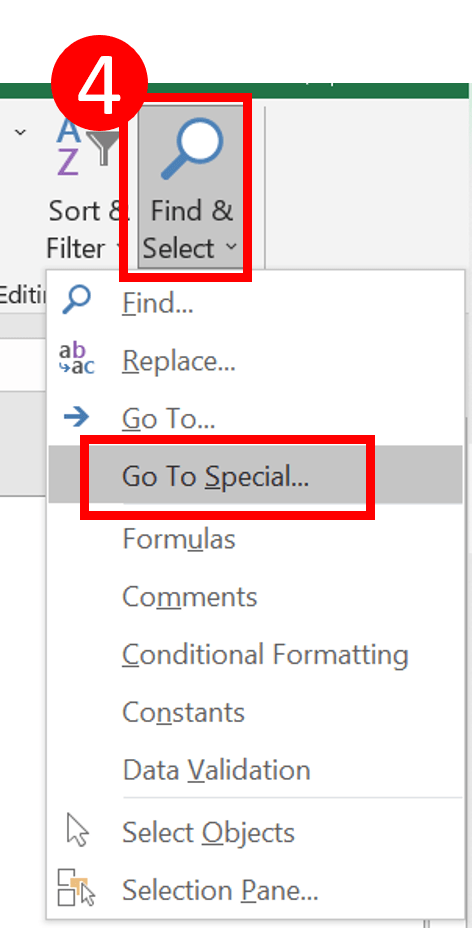
Step 4: Select Find and Select > Go To Special
This will open the Go To Special Window.
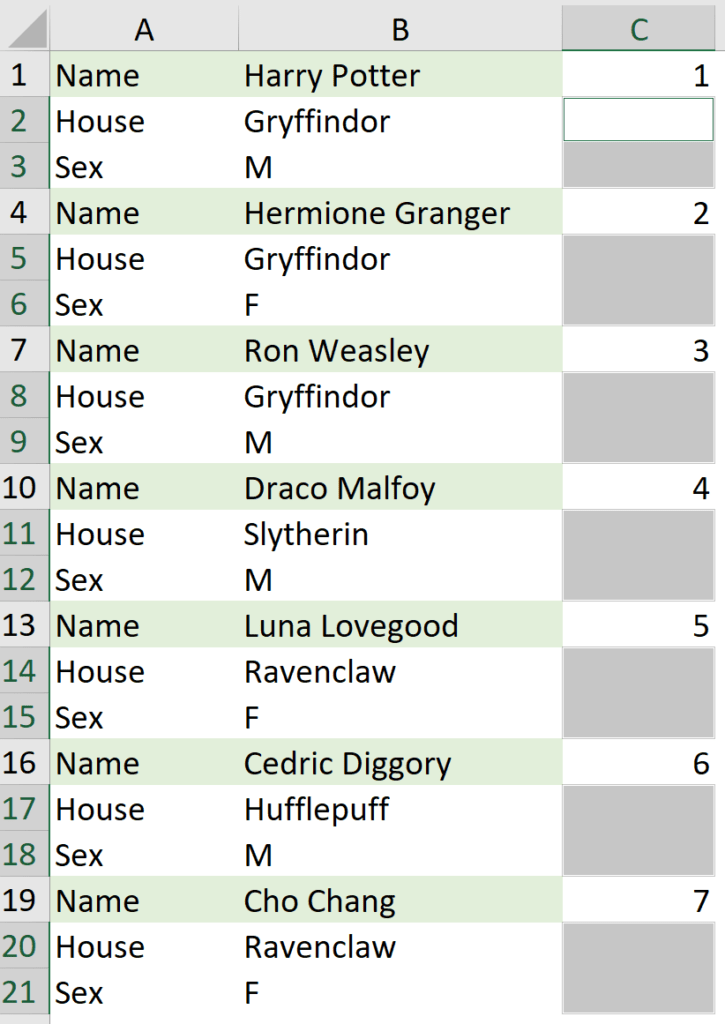
Step 5: Select Blanks and press OK
The column should look like this after step 5.
You might also be interested in How to Select Cells with Colour (3 ways + VBA)
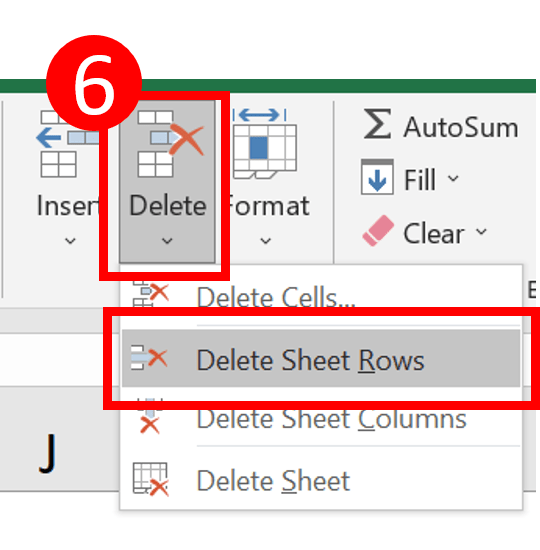
Step 6: Select Delete > Delete Sheet Rows
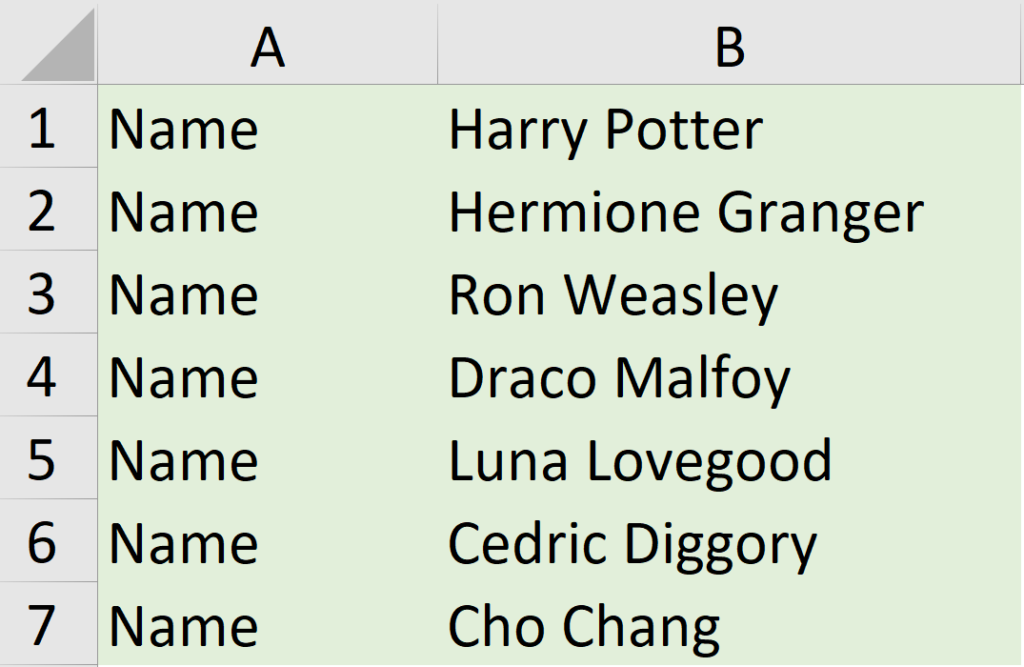
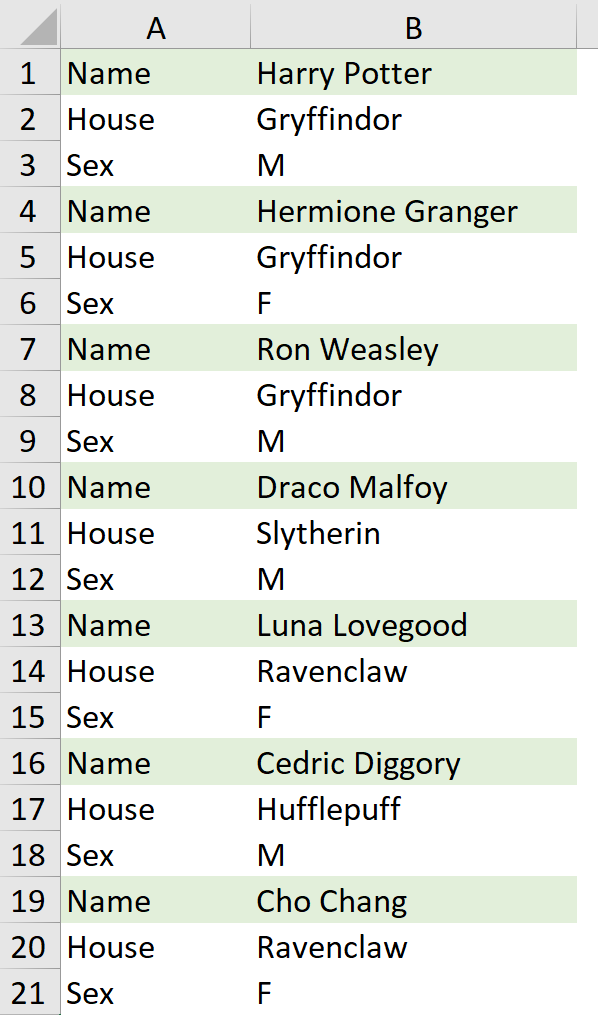
Result
Delete every other row or every nth row (Sample 2)
You might also be interested in How to Select Cells with Colour (3 ways + VBA)
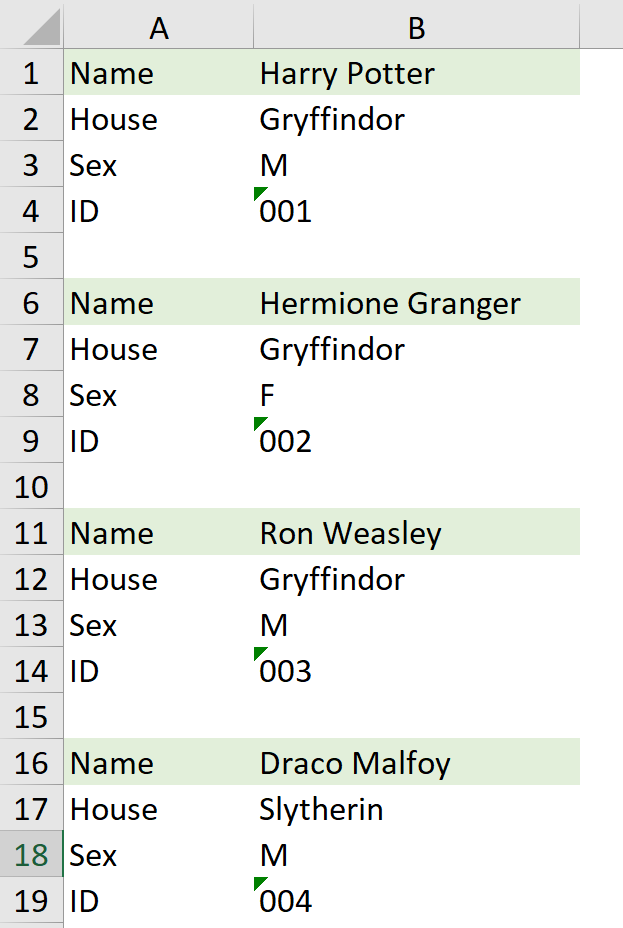
This time I would like to keep “Name”, “House” and “Sex” information. I would like to get rid of the “ID” row and the blank row.
First, you will need to create a auxiliary column. You will have to consider which row to be abandoned. Here I would like to abandon the “ID” row and blank row so I will leave the cell blank in the auxiliary column for those rows.
You might also be interested in How To Remove Digits After Decimal In Excel?
Then, you can repeat the step 4 to step 6 in the above tutorial.
Hungry for more useful Excel tips like this? Subscribe to our newsletter to make sure you won’t miss out on any of our posts and get exclusive Excel tips!