Splitting cells into shorter cells can be really time-consuming. If the cell you are going to split does not contain text, you can do that by using Text-to-column function. If it contains text, then there is no way out. You can only do it manually.
Not until I found out about “Justify” I didn’t realise splitting long text into shorter cells can be so easy. With this Excel feature, you can even choose the maximum length of the cells. And it won’t split the word. More importantly, this won’t take you a lot of time. You can finish it at a click. How amazing!
In this article, I will show you how to split long text into shorter cells without splitting word. This will allow you to select the length of the end result.
If you have the following questions, I suggest you reading this until the end.
- How to split long text into shorter cells in Excel?
- How to split text into shorter cells without splitting words in Excel?
- How to delimit without splitting words in Excel?
You might also be interested in How to get value from every nth row?
Example
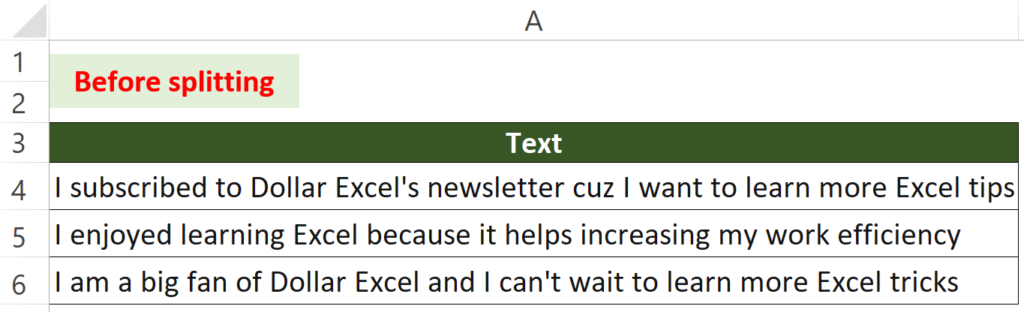
In the above example, the cells are split vertically into several rows.
What we would like to do
To split long text into shorter cells without splitting words
You might also be interested in How to Concatenate Date and Text in Excel.
Split long text into shorter cells by Justify
With Justify, you will be able to choose the maximum length of the cells.
Step 1 Add a blank row between each row
If you don’t know how to insert blank row efficiently, I suggest you take a look at the How to Insert Every Other Row or Every Nth Row. This article will show you how to add blank rows in bulk at a few clicks.
If you only have a few rows of data, you can insert blank rows manually.
The shortcut for adding new rows is
Alt + H + I + R
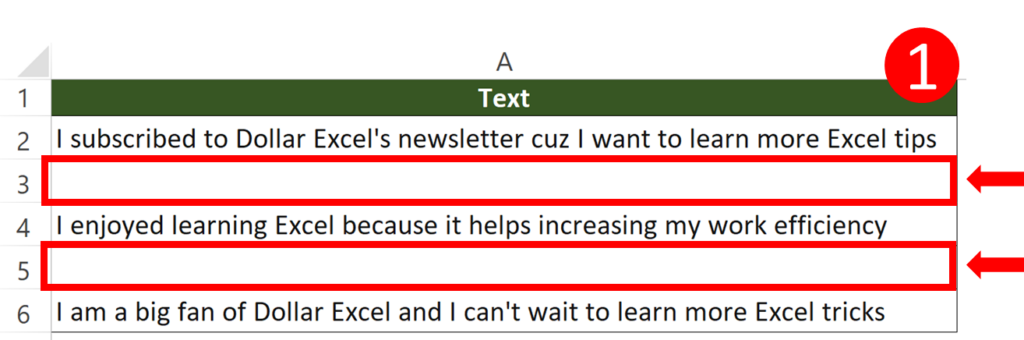
Adding blank rows between each cell is basically telling Excel that we would like to separate the content contained in those cells. You may get a bit confused at the moment. No worries. I will explain further in the following steps.
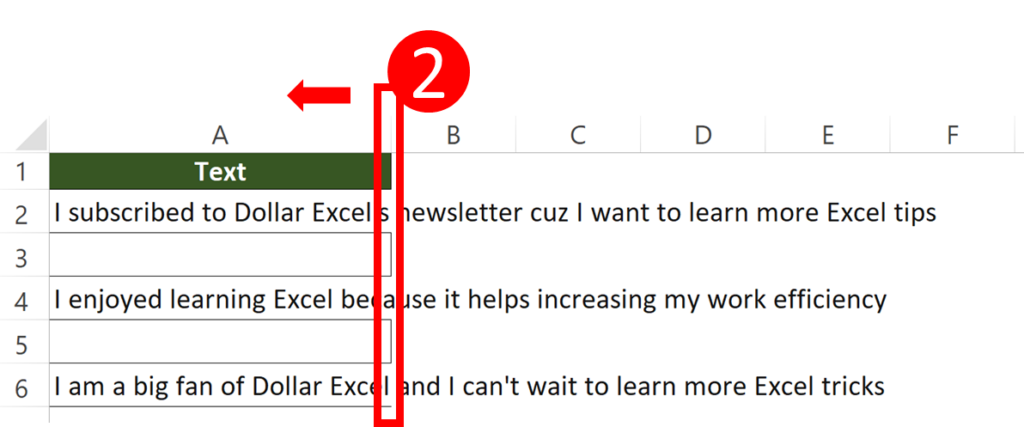
Step 2 Reduce the column width
You can edit the width as you wish. The end result depends on how you adjust the width.
For instance, I would like to show “I subscribed to Dollar Excel’s” in the same cell so I will adjust the column width until it at least showing the phrase.
If you are unsure about how short you would like the column be, you can twist the column width a few times until you find the width that suits you.
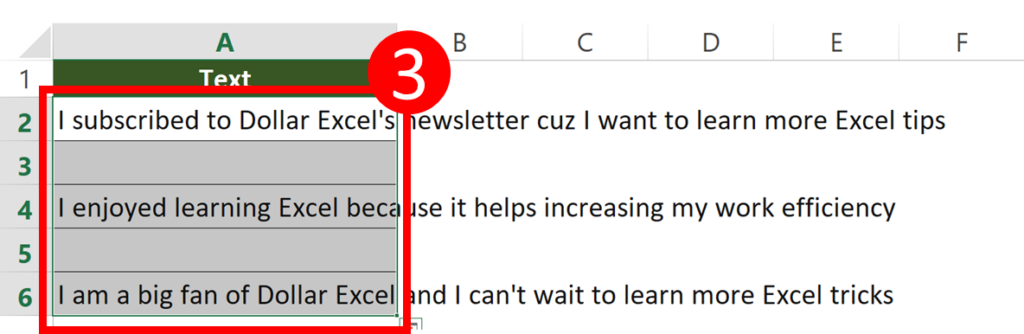
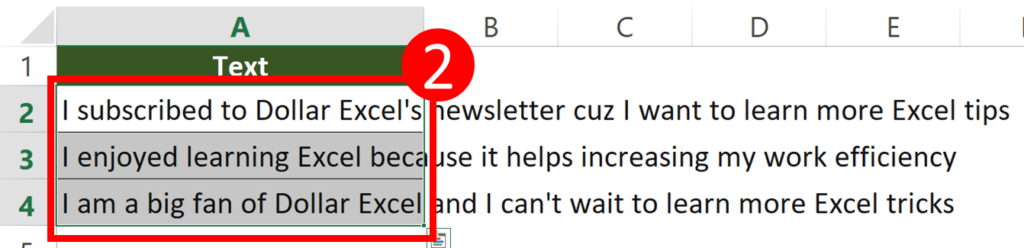
Step 3 Select cells to be split
Make sure you didn’t select cell that you don’t want to split.
Here I selected cell A2 to cell A6.
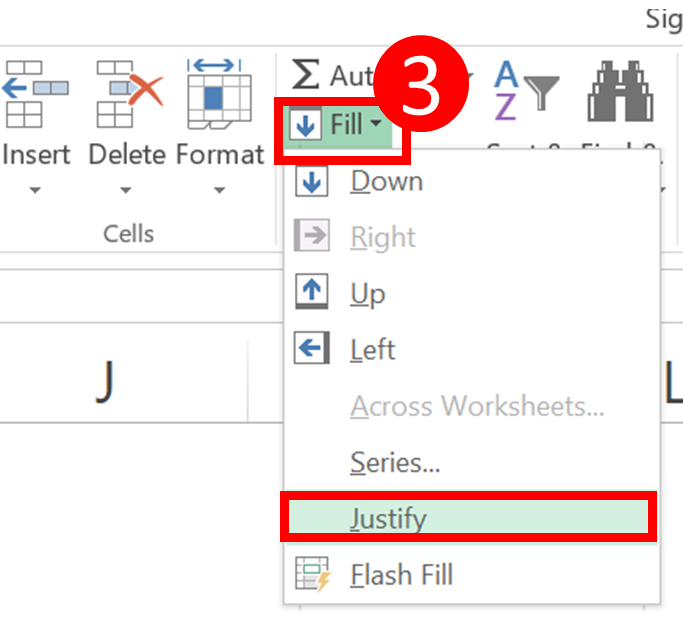
Step 4 “Home” > “Fill” > “Justify”
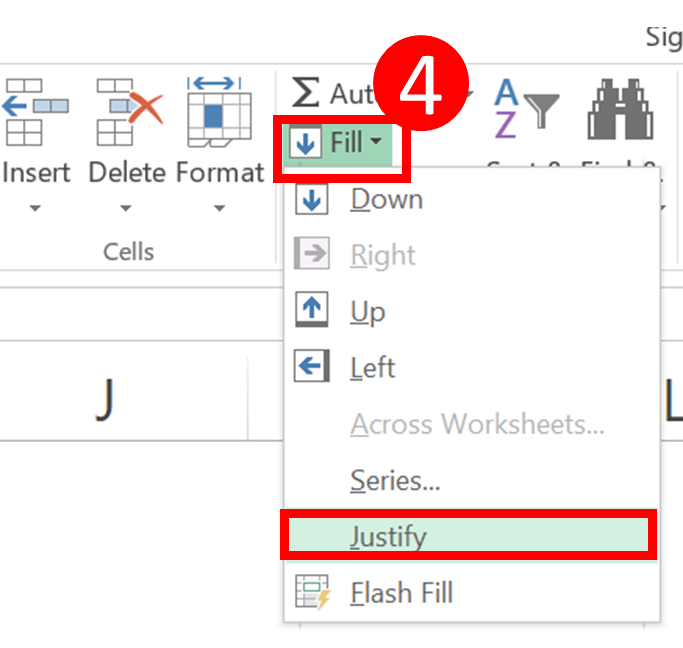
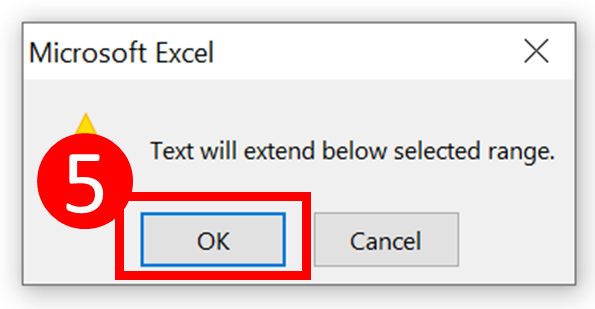
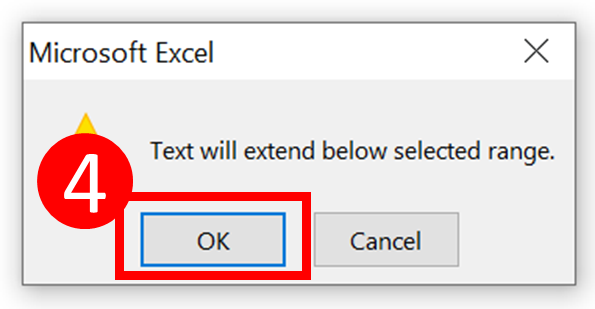
Step 5 Press “OK”
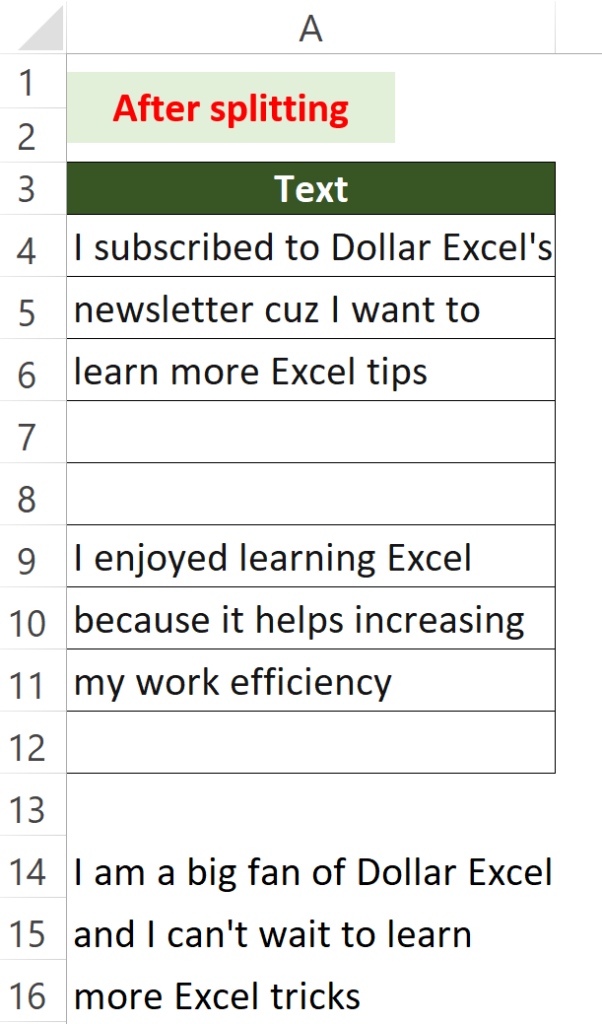
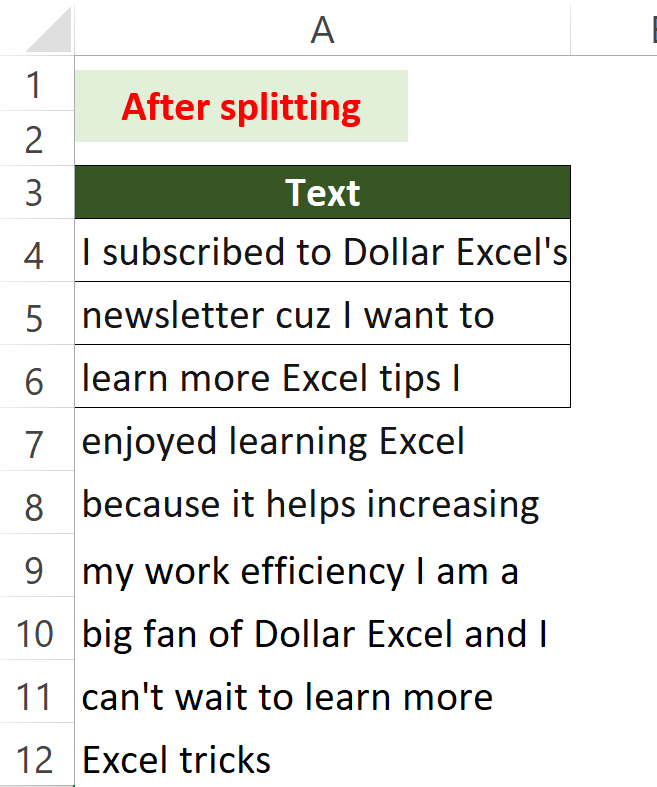
Result
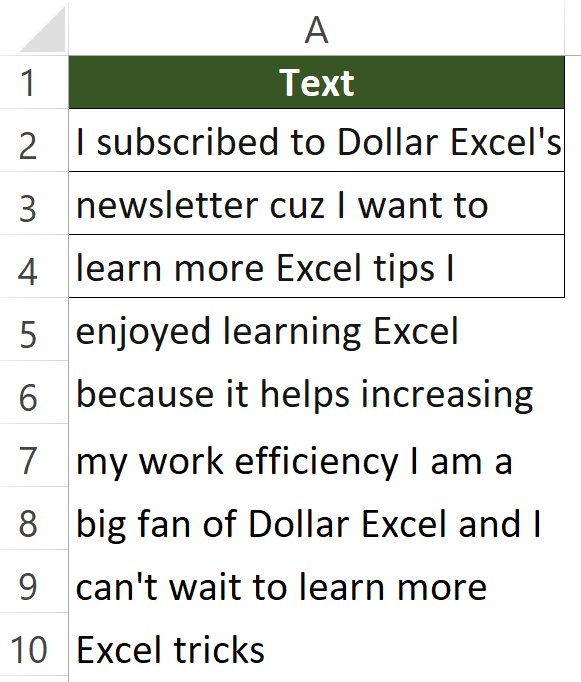
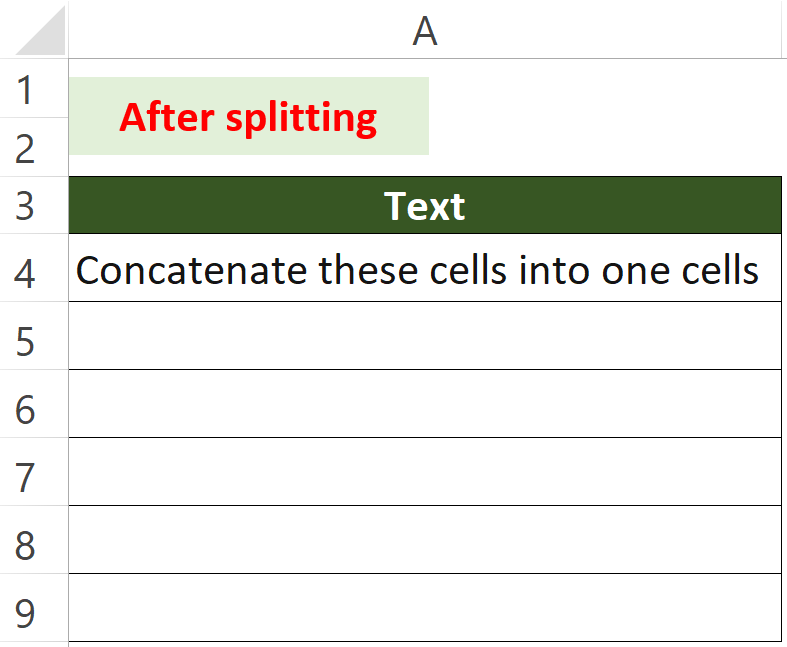
As you can see, cell A2 to A4 is combined before being split into shorter cells. They look like a paragraph rather than 3 different sentences now.
This is really useful when you need to combine several cells into one cell. You no longer need to combine cell one by one.
You might also be interested in How To Remove Digits After Decimal In Excel?.
Split long text into shorter cells and combining cells from different rows
In the previous section, I showed you how to split a cell into shorter cells based on the length of the text.
You may wonder if there is a way to combine text from different row and split them into shorter cells all at once.
Here I will show you how to combine cells from different rows and then split them into shorter cells.
Actually the steps are pretty similar to the previous one. All you need to do is to skip the step one.
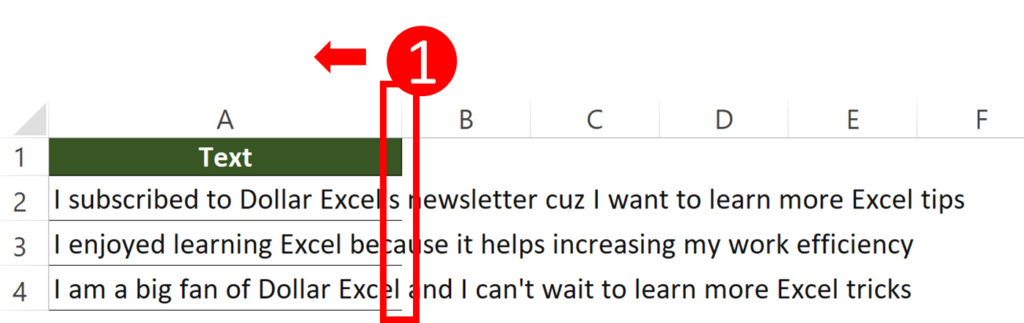
Step 1 Reduce the column width
You can edit the width as you wish. The end result depends on how you adjust the width.
For instance, I would like to show “I subscribed to Dollar Excel’s” in the same cell so I will adjust the column width until it at least showing the phrase.
If you are unsure about how short you would like the column be, you can twist the column width a few times until you find the width that suits you.
Step 2 Select cells to be split
Make sure you didn’t select cell that you don’t want to split.
Here I selected cell A2 to cell A4.
Step 3 “Home” > “Fill” > “Justify”
Step 4 5 Press “OK”
You might also be interested in How to Unpivot or Reverse Pivot in Excel.
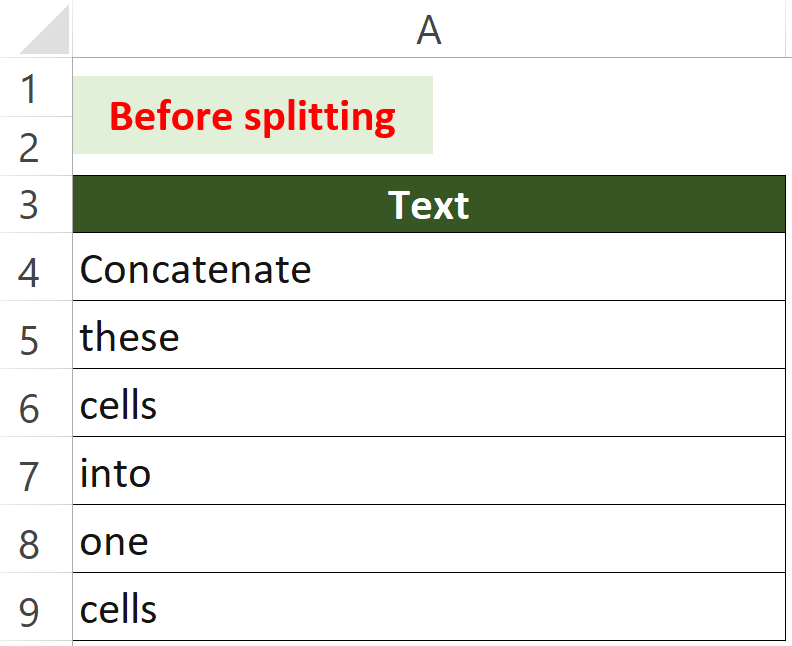
Concatenate text from different cells with Justify
This provides another usage of Justify. What you need to do is exactly what I show you in the above section.
The beauty of “Justify” is that it helps you remove extra space and insert space where it is needed.
In the following example, some of the cells contain spaces while some do not.
As you can see, the text are spaced correctly.
Hungry for more useful Excel tips like this? Subscribe to our newsletter to make sure you won’t miss out on any of our posts and get exclusive Excel tips!