In this article, I am going to show you how to do find and replace only if the case matches.
Normal Find and Replace example
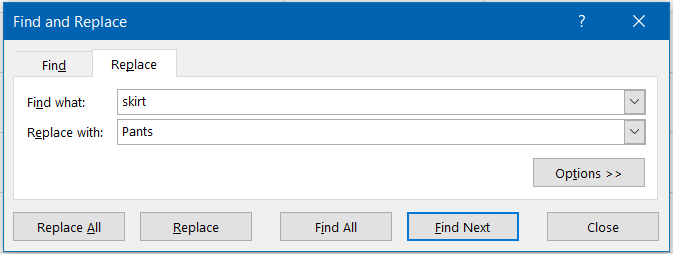
Sometimes, we want more than just normal find and replace in Excel.
However, in default Find and Replace dialog, find and replace is not case sensitive.
For example, both “skirt” and “Skirt” are replaced by “Pants” in the below example.
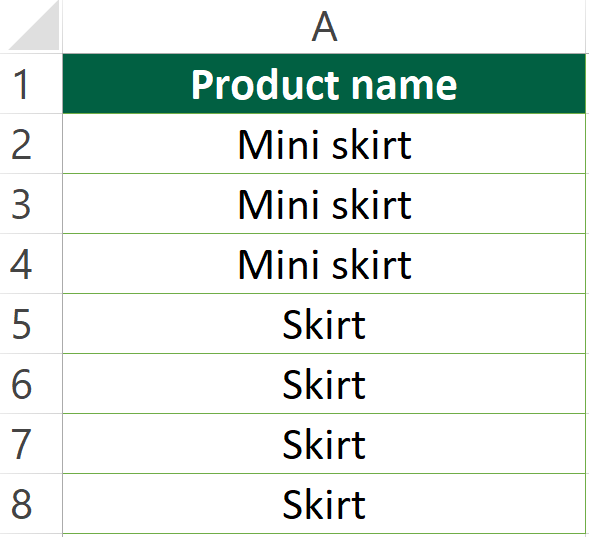
Before Find and Replace
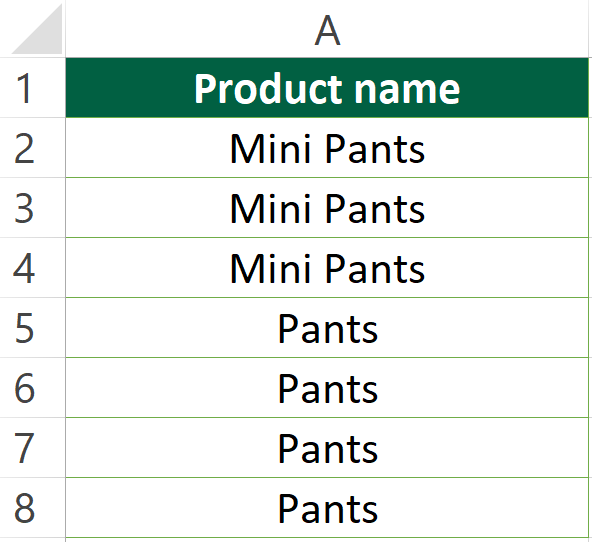
After Find and Replace
Sample Workbook
You can download the workbook to practice it by yourself.

Case-sensitive Find and Replace
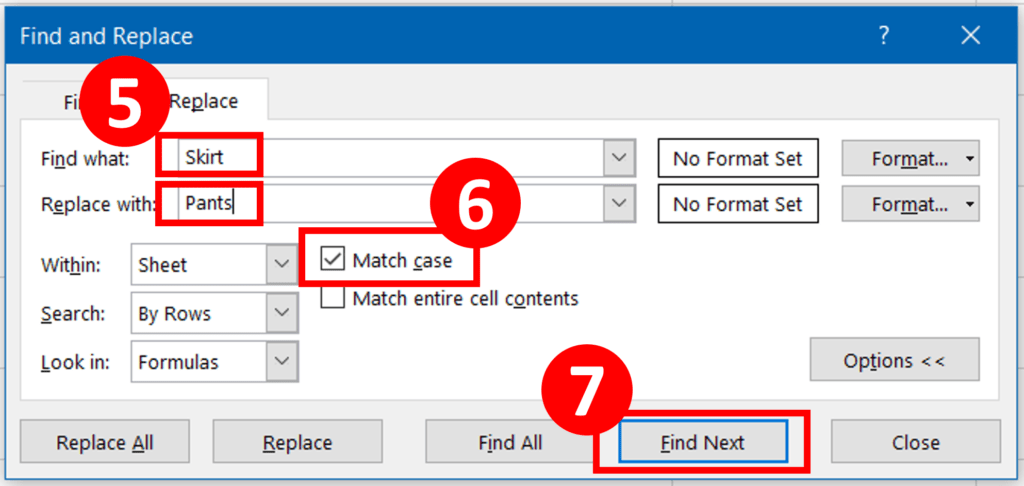
In the Find and Replace dialog, clicking the “Options >>” button would bring up extra options. Checking the “Match case” box enables you to do case-sensitive find and replace.
Step-by-step Tutorial
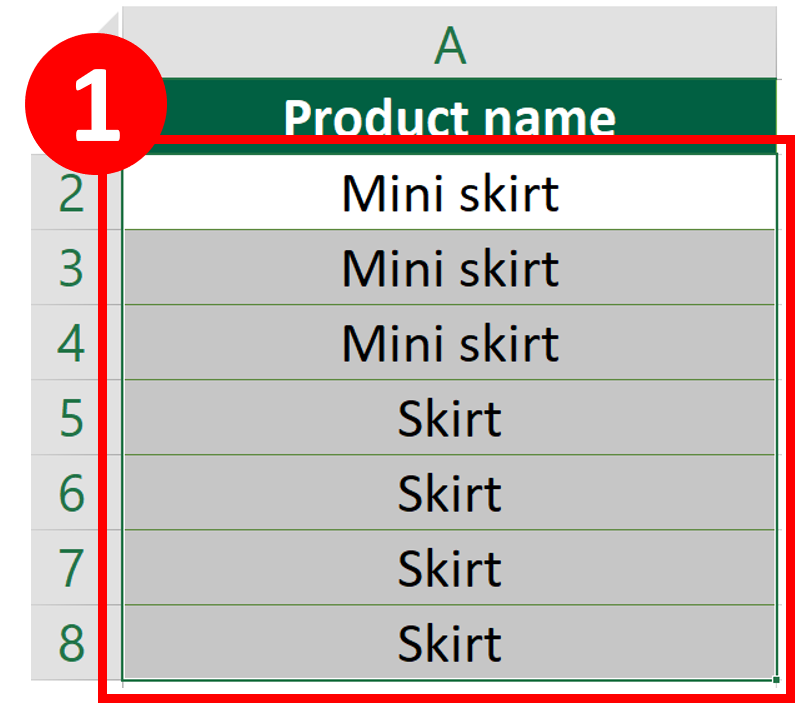
Step 1: Select the cell ranges
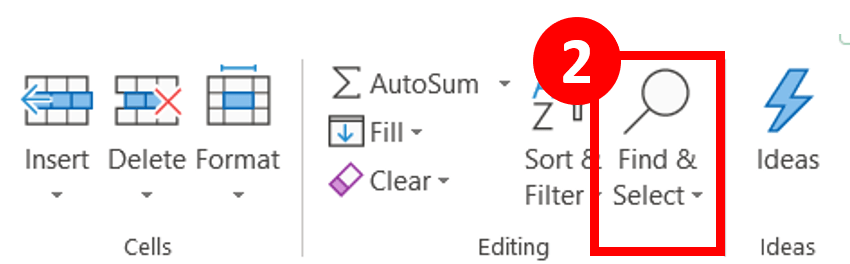
Step 2: Under Home tab, in Editing group press the “Find & Select”
Step 3: Select “Replace”

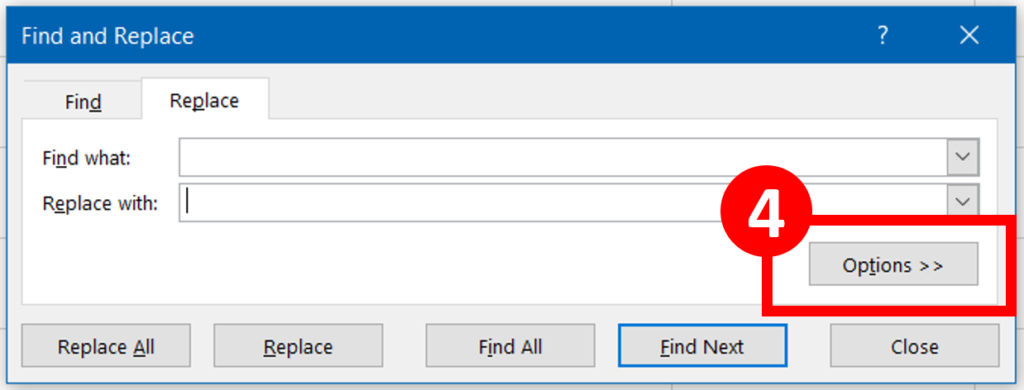
Step 4: Press “Options >>”
Step 5: Enter the “Find what: ” and “Replace with: ” field
Step 6: Check the “Match Case” box
Step 7: Press “Find Next”
Step 8: Done (“skirt” are not replaced but “Skirt” are replaced by “Pants”)

Do you find this article helpful? Subscribe to our newsletter to get regular Excel tips and exclusive free Excel resources.